Homemade Biscuits
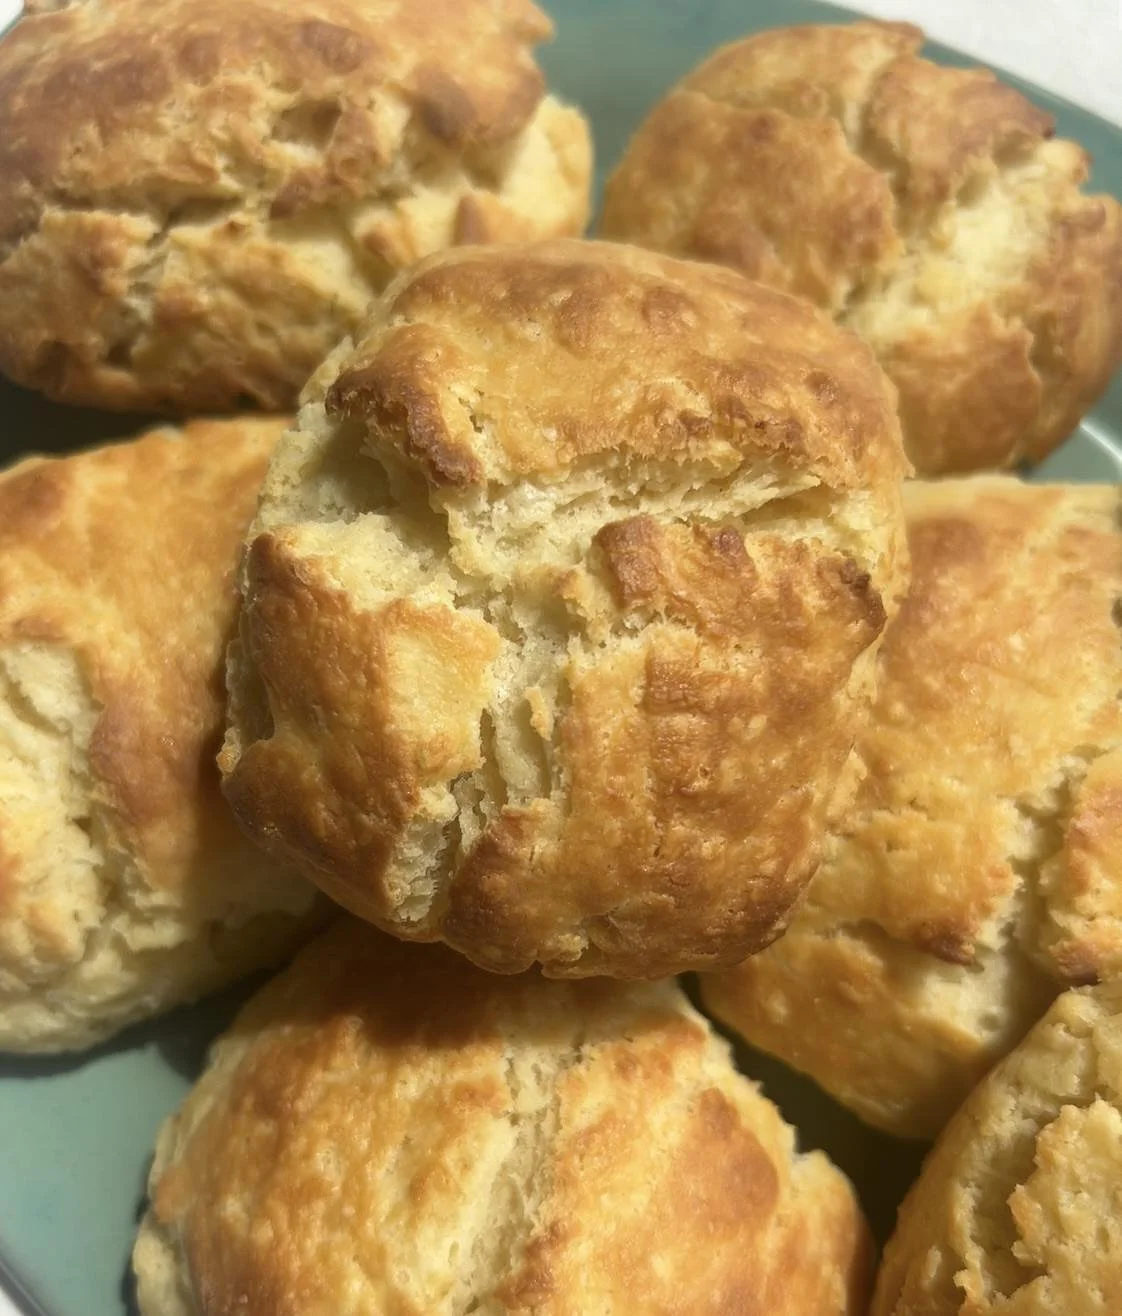
A classic biscuit recipe is (and should be) a staple in any kitchen. I grew up eating biscuits with pretty much any meal, so not only are biscuits delicious, but they’re also very nostalgic to me, and I’m sure to many others. Not only that, but biscuits (and how you make them) are very personal to each family and chef, and I think that’s part of what makes them so great. Whether you’re baking fresh, fluffy biscuits to be enjoyed at breakfast or as an accompaniment to a flavorful dinner, these biscuits are always welcome on my table. This recipe ensures your biscuits always turn out golden brown and crispy on top while delivering a flaky, delicate interior. This recipe is going to give you a perfect final product, and we’ve also compiled a whole guide to biscuit making to answer all of your questions and set you up for success during this process.
Can biscuits be made ahead of time? Yes, biscuits can be made up to 5 days ahead of time and stored in an air-tight container at room temperature. I recommend consuming biscuits within this timeframe to ensure they stay as fresh and moist as possible.
Can biscuits be frozen? Yes, biscuits can be frozen, either as dough or fully cooked. When freezing biscuit dough, I recommend forming it into biscuit-sized portions and freezing them in an air-tight zipper bag or container for up to three months. When the time comes to bake the biscuits, simply add about 5-7 minutes of cook time to the dough to account for it to thaw in the oven before it turns into a delicious, fluffy biscuit. If you’re freezing already-baked biscuits, simply store them in an air-tight bag or container and gently warm them in the oven when you’re ready to serve.
What type of flour works best for biscuits? All-purpose flour is my recommended type of flour when it comes to making fluffy, craveable biscuits. Similar to our guide in our lemon poppy seed scones recipe, all-purpose flour has the exact amount of gluten to make a perfectly flaky biscuit when paired with the fat from the butter. Other alternative flour choices and the pros and cons of each are:
Cake flour. This type of flour has less gluten than all-purpose flour, making it too light to be used for biscuits. If you swap cake flour for all-purpose, you’ll find that your biscuits are much more delicate and lacking in the rich, flaky texture you’re looking for in a perfect biscuit.
Self-rising flour. This type of flour already contains ingredients like salt and baking powder, so you’ll see fine results from using this type of flour to make biscuits, and many recipes do utilize this type of flour in biscuit dough. However, all self-rising flour is created differently, and you’ll have to adjust this recipe to account for these changes. In my opinion, it’s best to start with a perfect blank slate, such as all-purpose flour.
Bread flour. This flour has more protein in it than all-purpose flour, which can give you a chewy, more dense biscuit.
Whole wheat flour. This type of flour is higher in fiber than all-purpose flour, and therefore can lead to a dry biscuit dough.
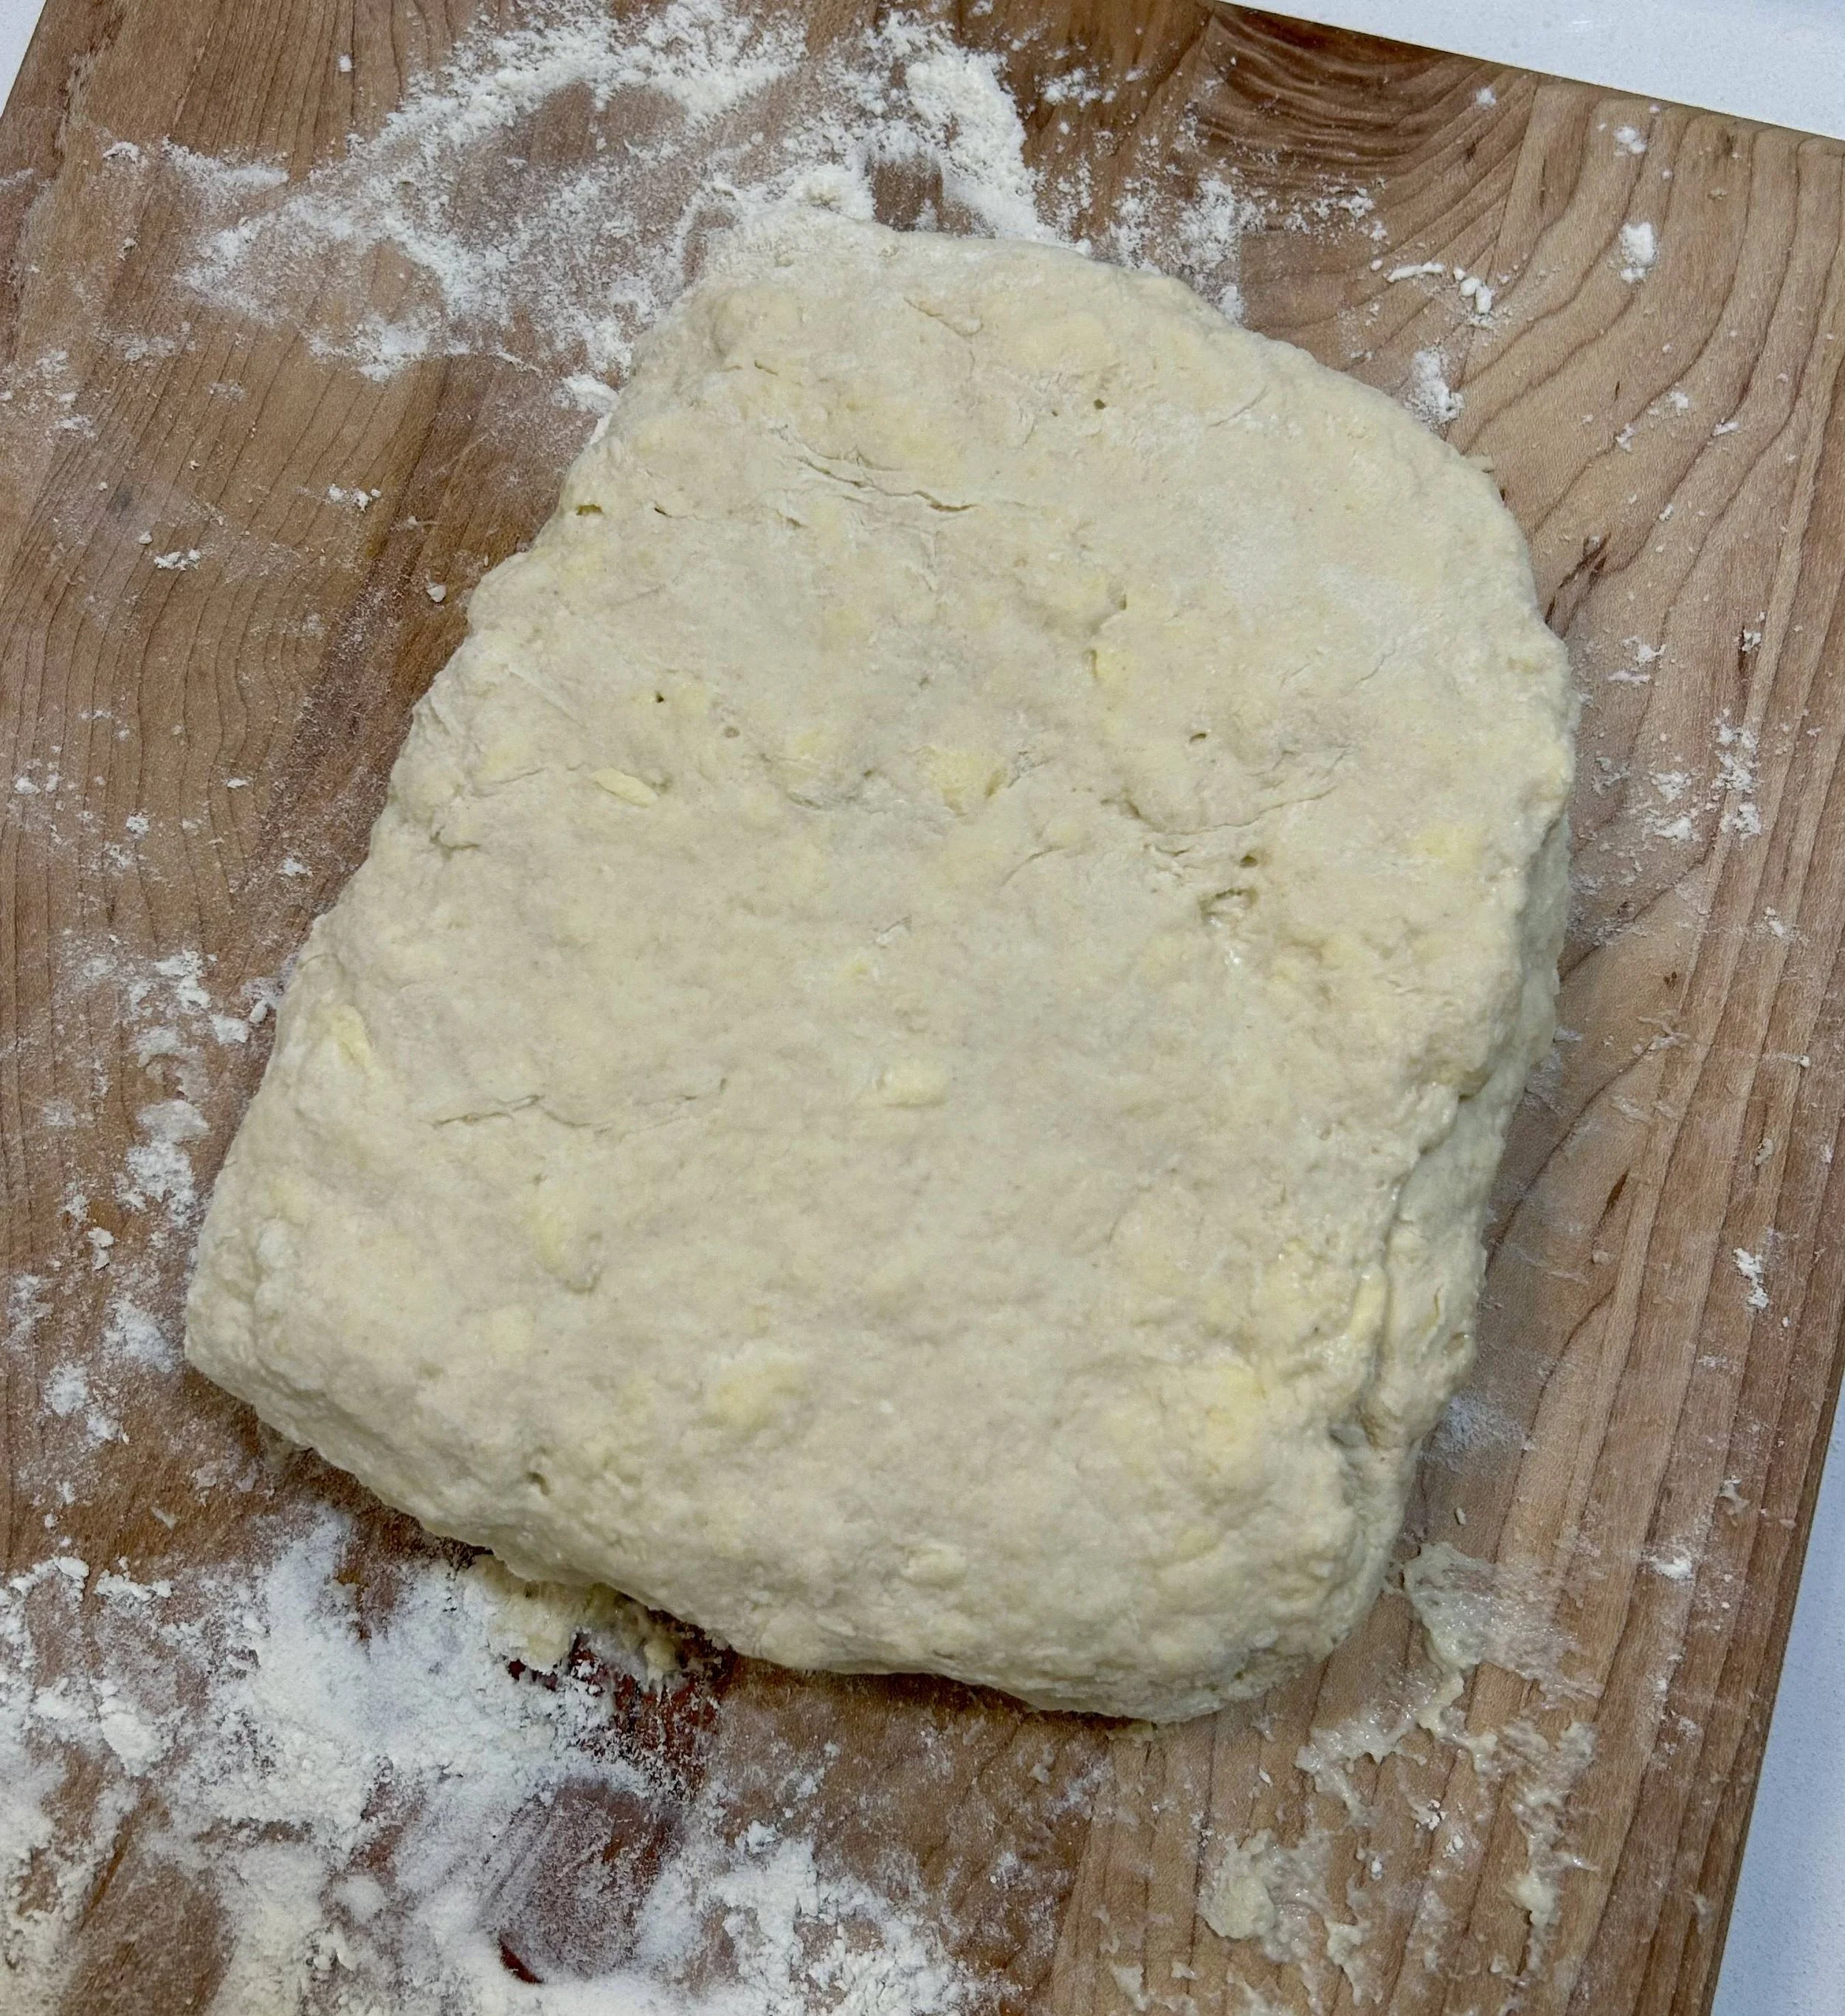
Homemade dough ready to form into biscuits
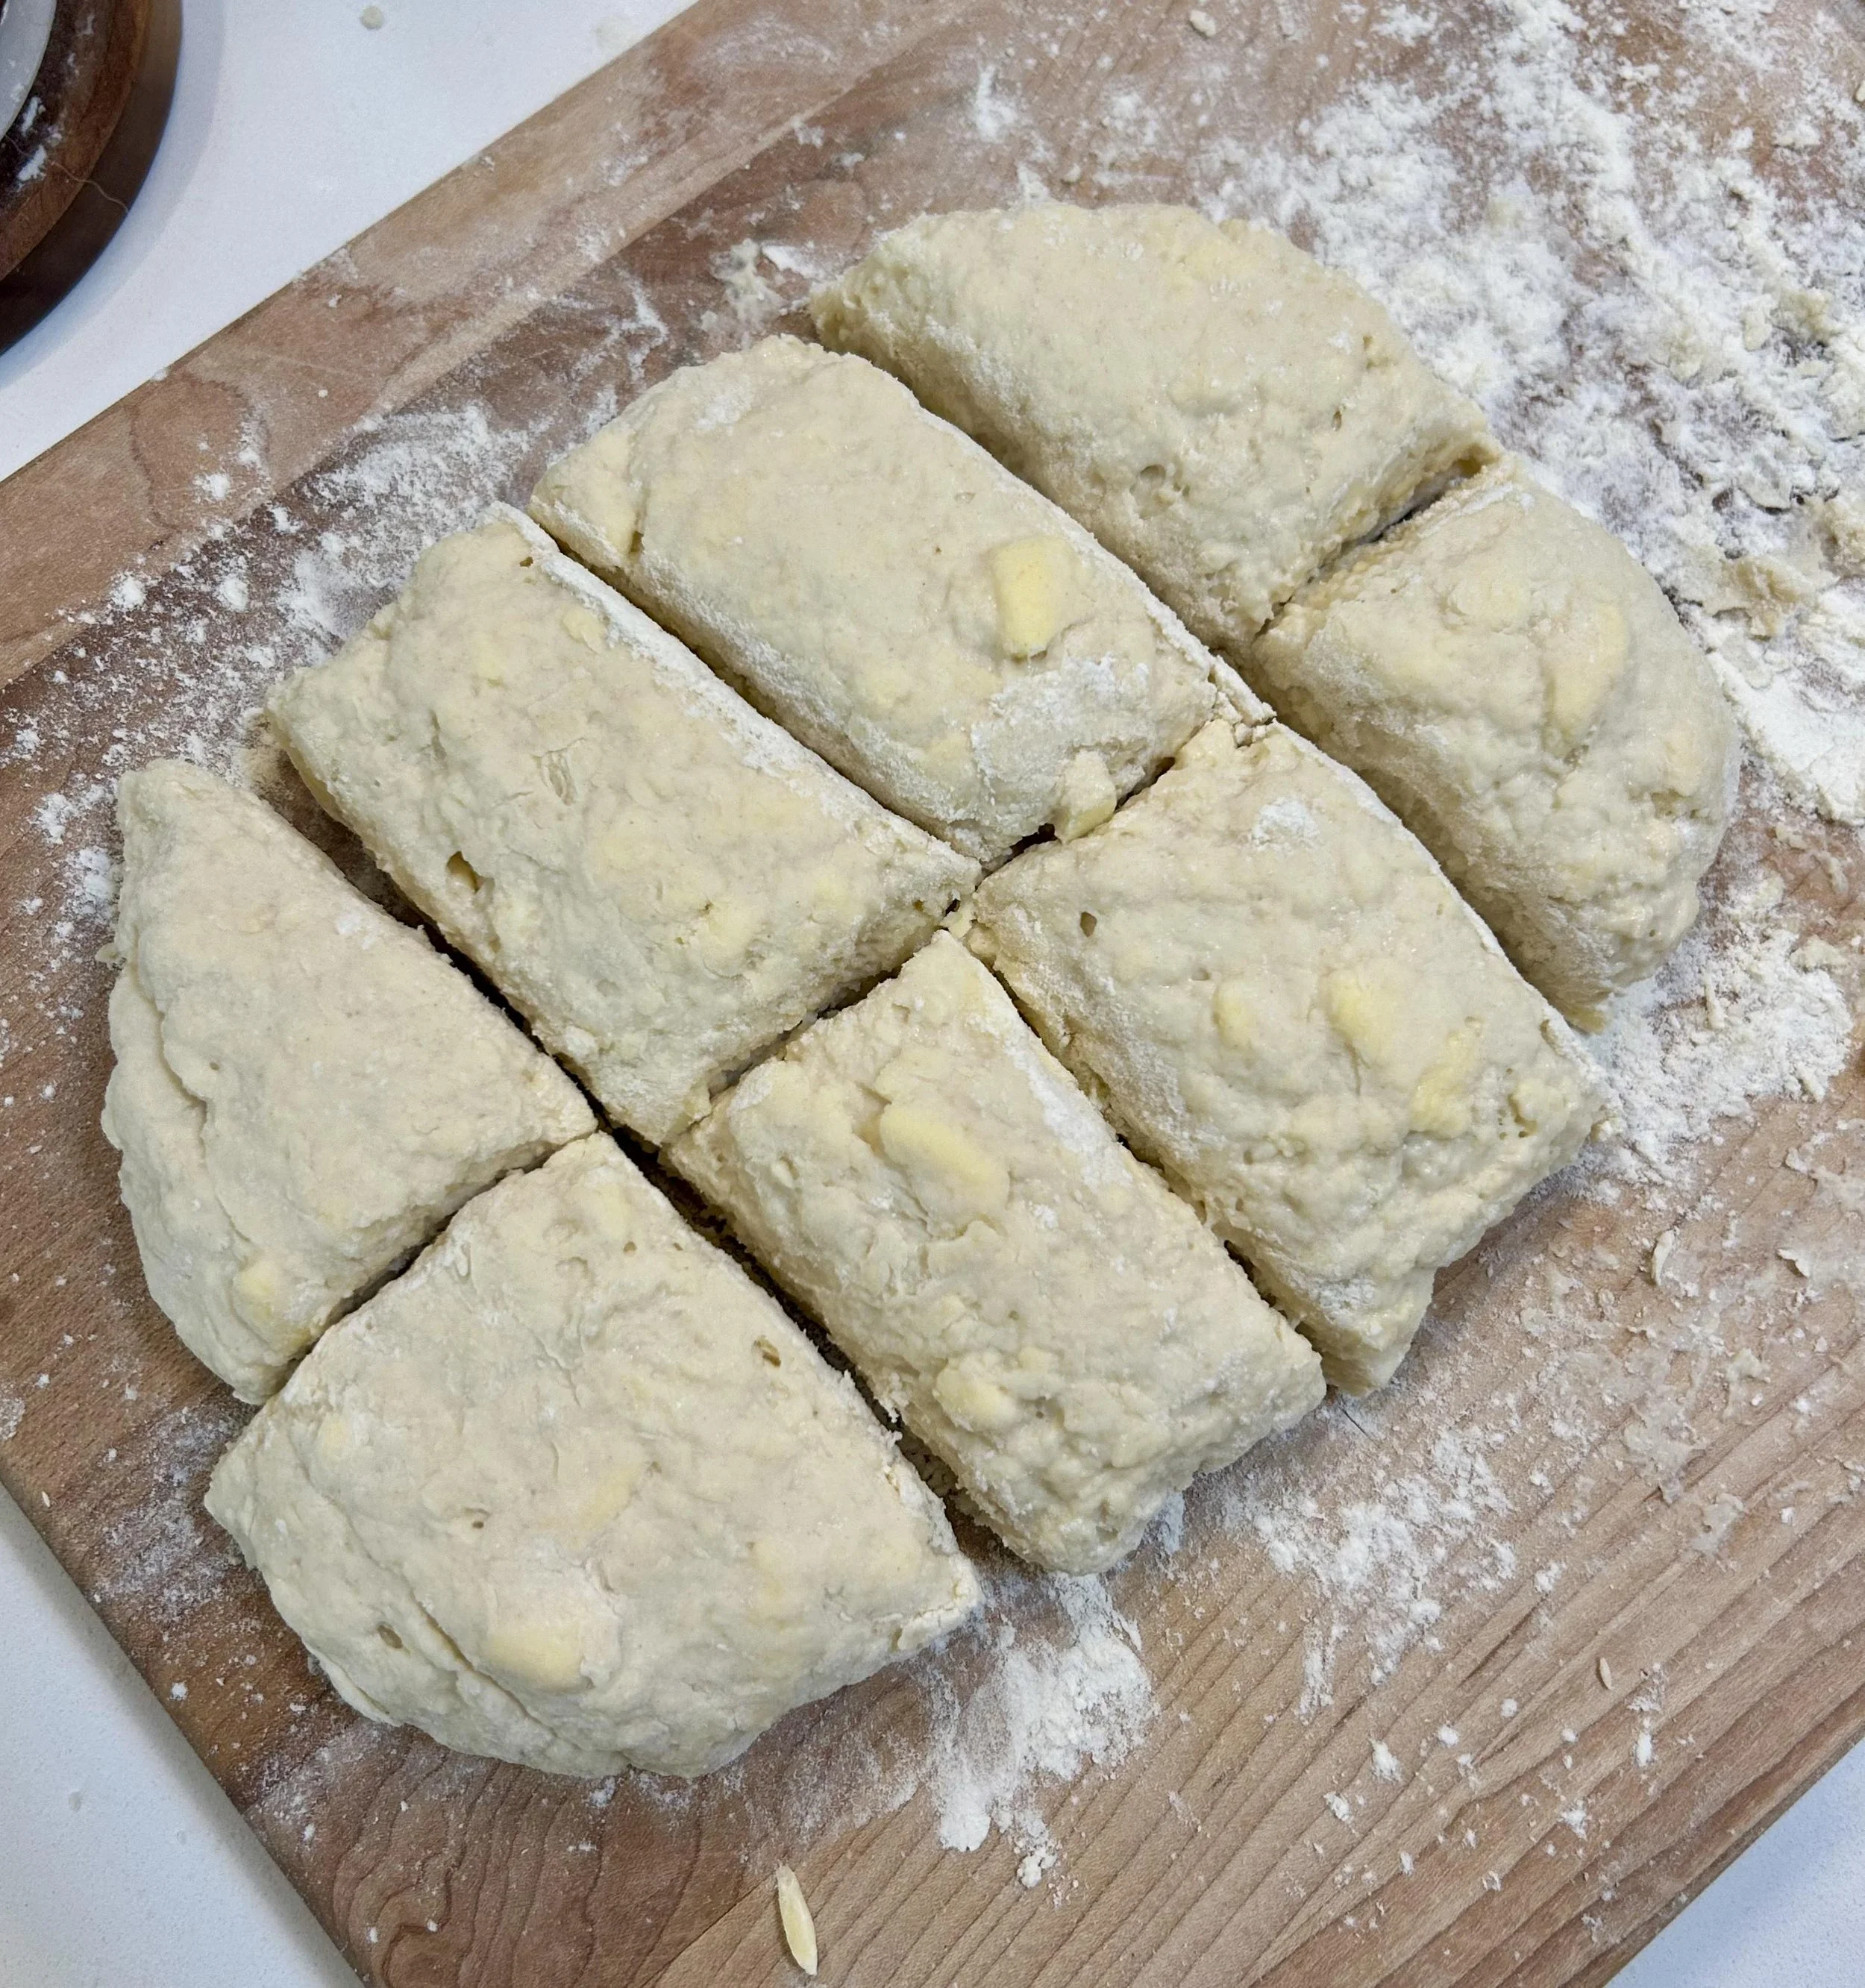
Dough portioned out into 8 biscuits
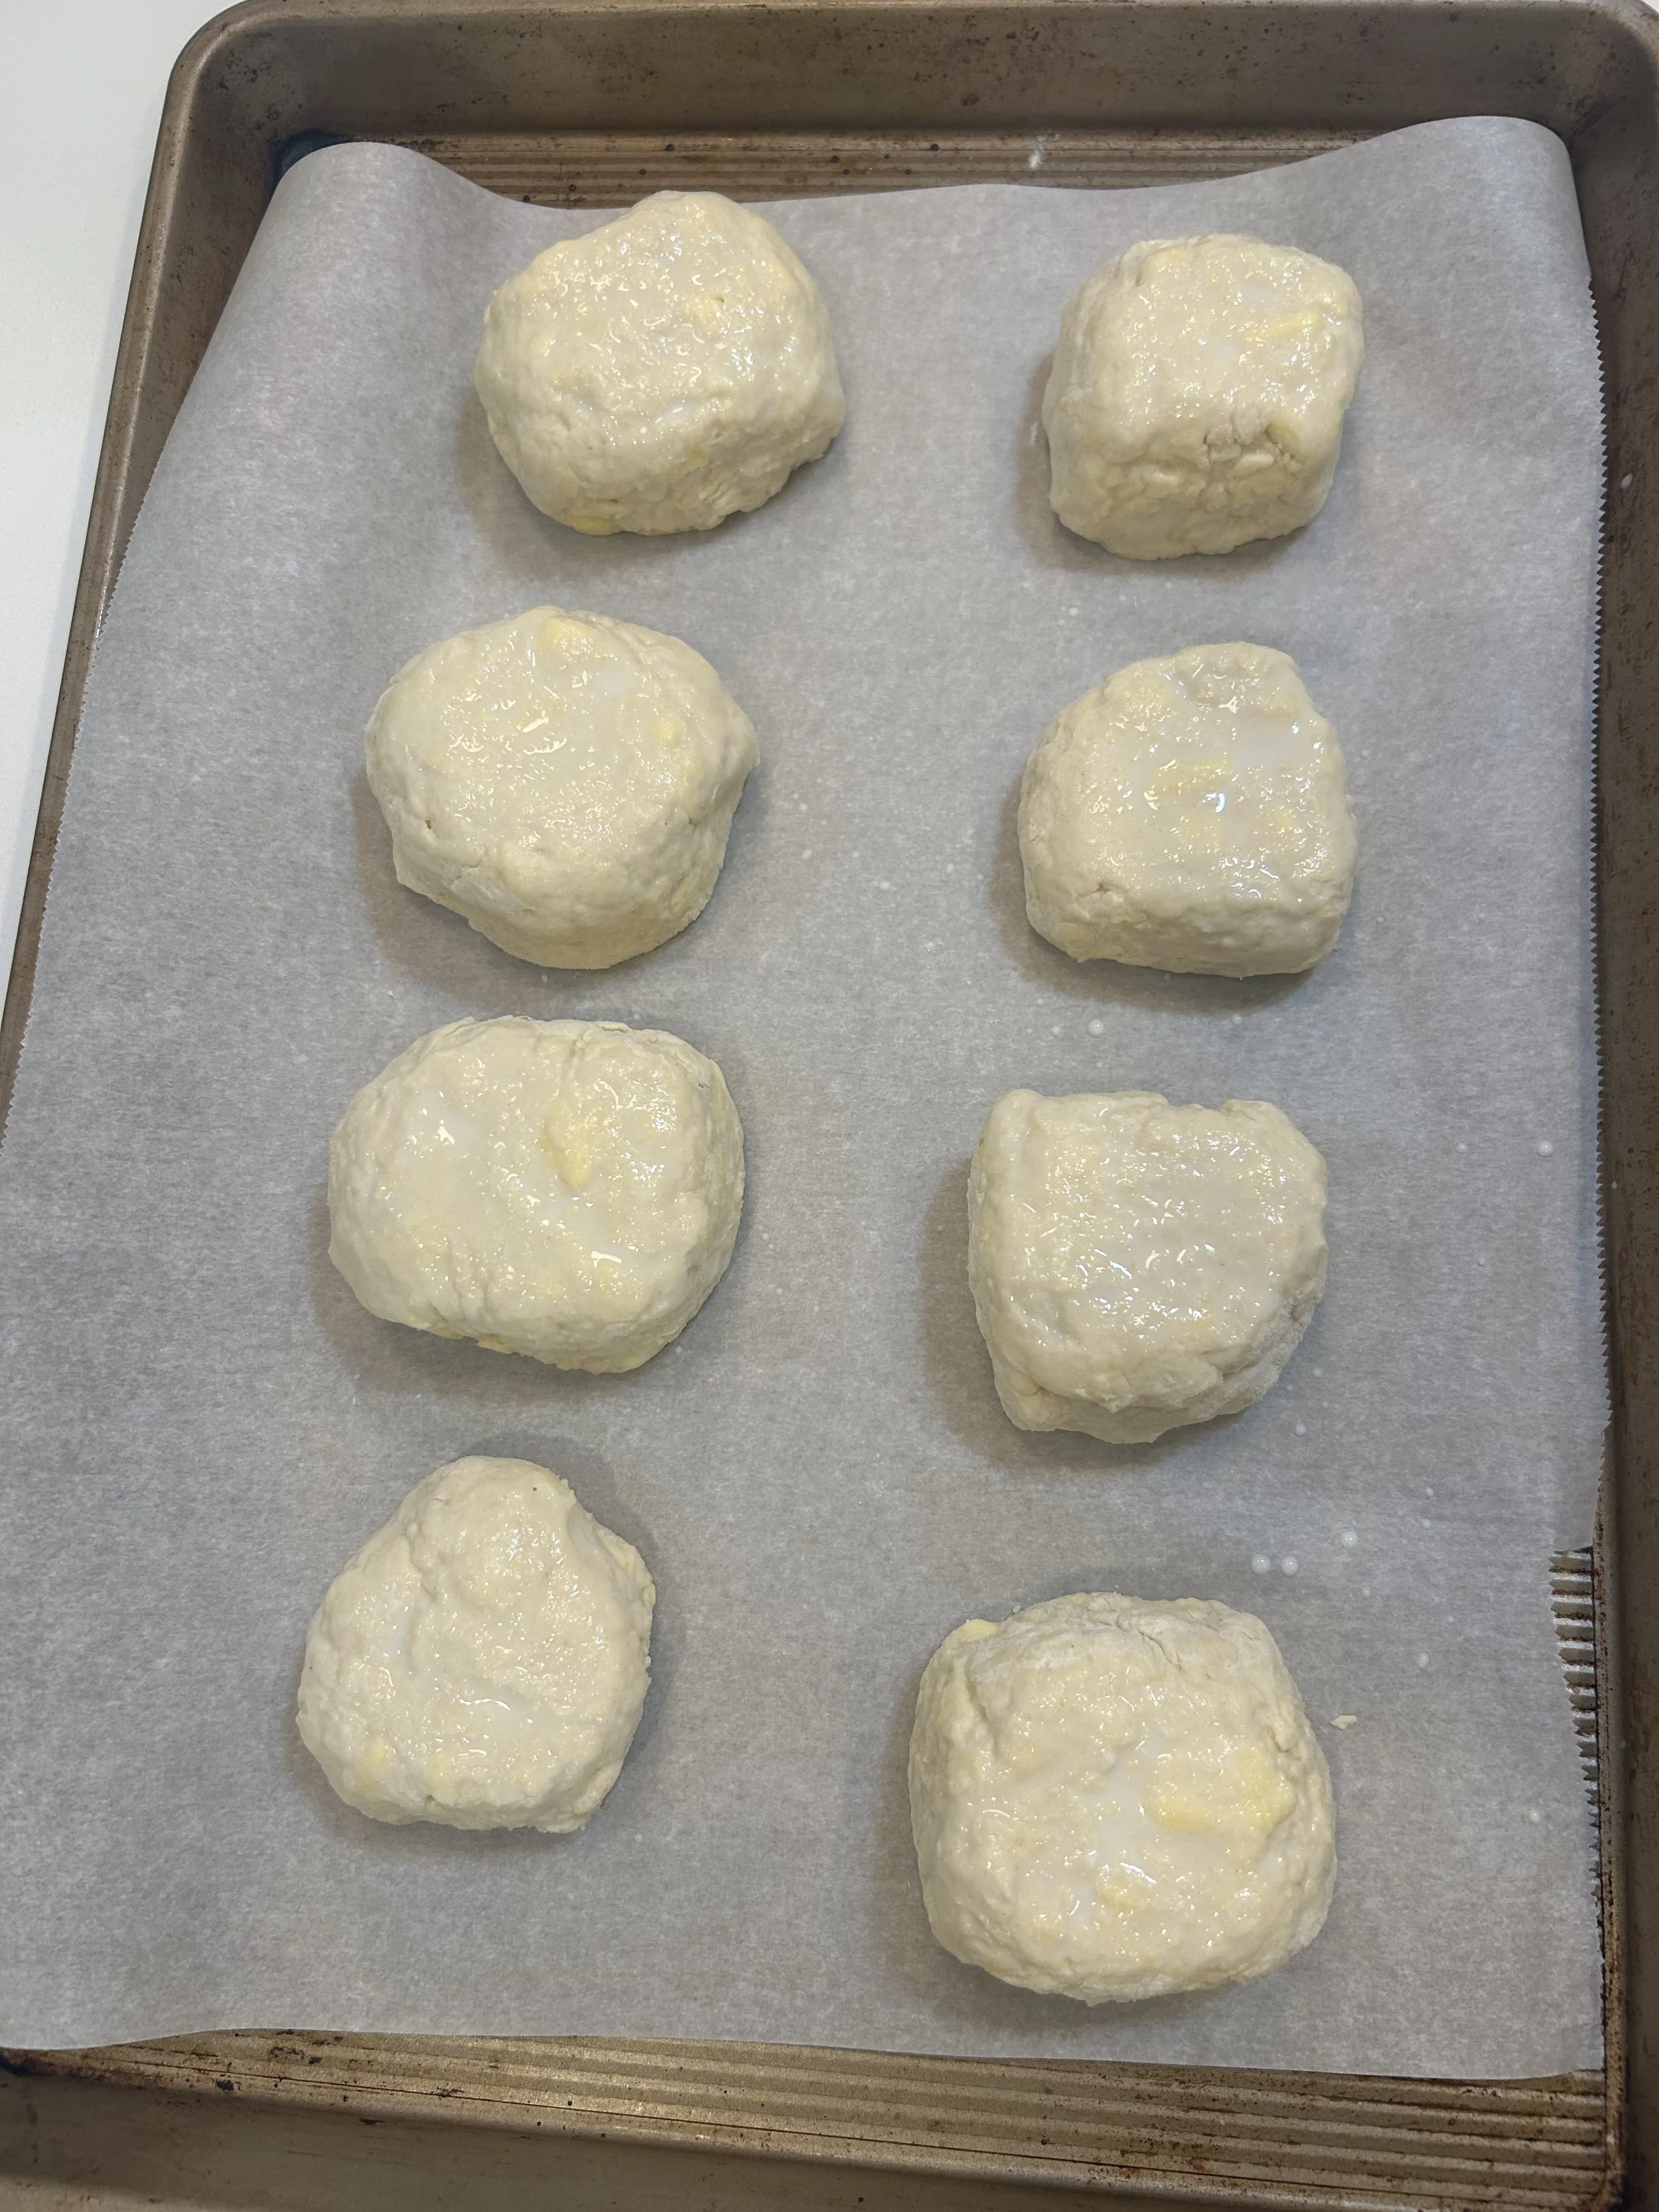
Biscuits ready to bake on a sheet pan and brushed with milk to promote browning
What are other ways to use biscuit dough? One of my favorite ways to use this biscuit dough is as a topping for chicken pot pie. We have a full recipe for this on our blog, giving you all the tips and tricks to making a delicious chicken pot pie recipe topped with biscuits!
Why do you call for Diamond kosher salt when baking? Salt can be a controversial topic in the food world, particularly because every type of salt tastes almost completely different and has different levels of salinity. Diamond kosher salt is a standard among many chefs and bakers, and it’s known for its clean flavor and pyramid-shaped crystals. To put this into context, Diamond kosher salt has over 50% less sodium than table salt, giving you more control over the salt that you’re putting in your food. But this is why it’s so important to clarify what type of salt you’re using in a recipe. If you use 2 tsp of table salt in substitution for Diamond kosher salt, you’ll see a dramatically different flavor in your biscuits than the recipe intends.
Why are my biscuits hard? Hard biscuits signify one of two problems — either you’ve overworked your dough, or you’ve added too much flour to the dough. Use caution when both flouring the surface of your cutting board as well as when you’re working the dough into biscuits to avoid this problem from happening. You should have the biscuits just come together in a nice, hydrated, uniform dough, and it shouldn’t take but a minute or so of kneading to do this.
Why did my biscuits burn on the bottom? Burning the bottom of your biscuits most likely signifies that your oven is too hot when baking them. I recommend using an oven thermometer to check the temperature your oven is heating to, ensuring it doesn’t under- or over-bake your food. For example, I found that my oven was off by about 15 degrees when I utilized an oven thermometer, and now I’m able to adjust my recipes accordingly to ensure I’m baking at the proper temperature. Additionally, consider using light-colored baking sheets instead of dark non-stick baking sheets. Dark colored pans can often absorb more heat than light ones, leading to the bottom of your biscuits burning before the rest is fully cooked.
Why did my biscuits fall apart? Biscuits often will fall apart if the ingredients in the dough are not combined thoroughly enough. This leads to certain parts of the biscuits being dry because they don’t have enough moisture from the milk and butter to keep the flour together, while other parts are overly saturated and don’t have enough flour to soak up the hydration. My recommendation here would be to focus on working the dough to create layers in the biscuits by folding the dough over on itself multiple times. Through this process, after creating about 4 layers in the dough, you will have perfectly worked the ingredients into the dough while setting yourself up for a deliciously fluffy biscuit.
Why didn’t my biscuits rise? Typically, biscuits don’t rise when the baking powder used in their dough is old and has lost its potency. This is the main ingredient in biscuits and many other baked goods that causes the dough to rise and develop the fluffy layers we all love. Baking powder should be switched out about every 6 months to ensure you have a fresh product that works as it should. If you’re not sure that your baking powder is fresh and working properly, test it by putting a small amount of baking powder in a bowl and drizzling a little bit of vinegar on it. The acidity of the vinegar should activate the baking powder, and you should see the mixture foam and bubble up if the baking powder is fresh.
How long do I bake biscuits for? This recipe calls for you to bake the biscuits for 20-25 minutes at 425 degrees Fahrenheit. This ensures that the dough is fully cooked and has risen to create fluffy layers, while also developing a golden layer on the top of each biscuit. When in doubt of your biscuits being fully cooked, always leave them in the oven for additional time, as an over-baked baked good is always better than an under-baked, soggy baked good.
Will biscuits stick to parchment paper or foil when baking? No, biscuits should not stick to parchment paper or foil when baking because they have so much fat in them from the butter that it prevents any of the other ingredients from sticking.
How to make homemade biscuits:

Homemade Biscuits
This is your go-to guide for making delicious, fluffy biscuits from scratch that turn out perfectly golden brown every time.
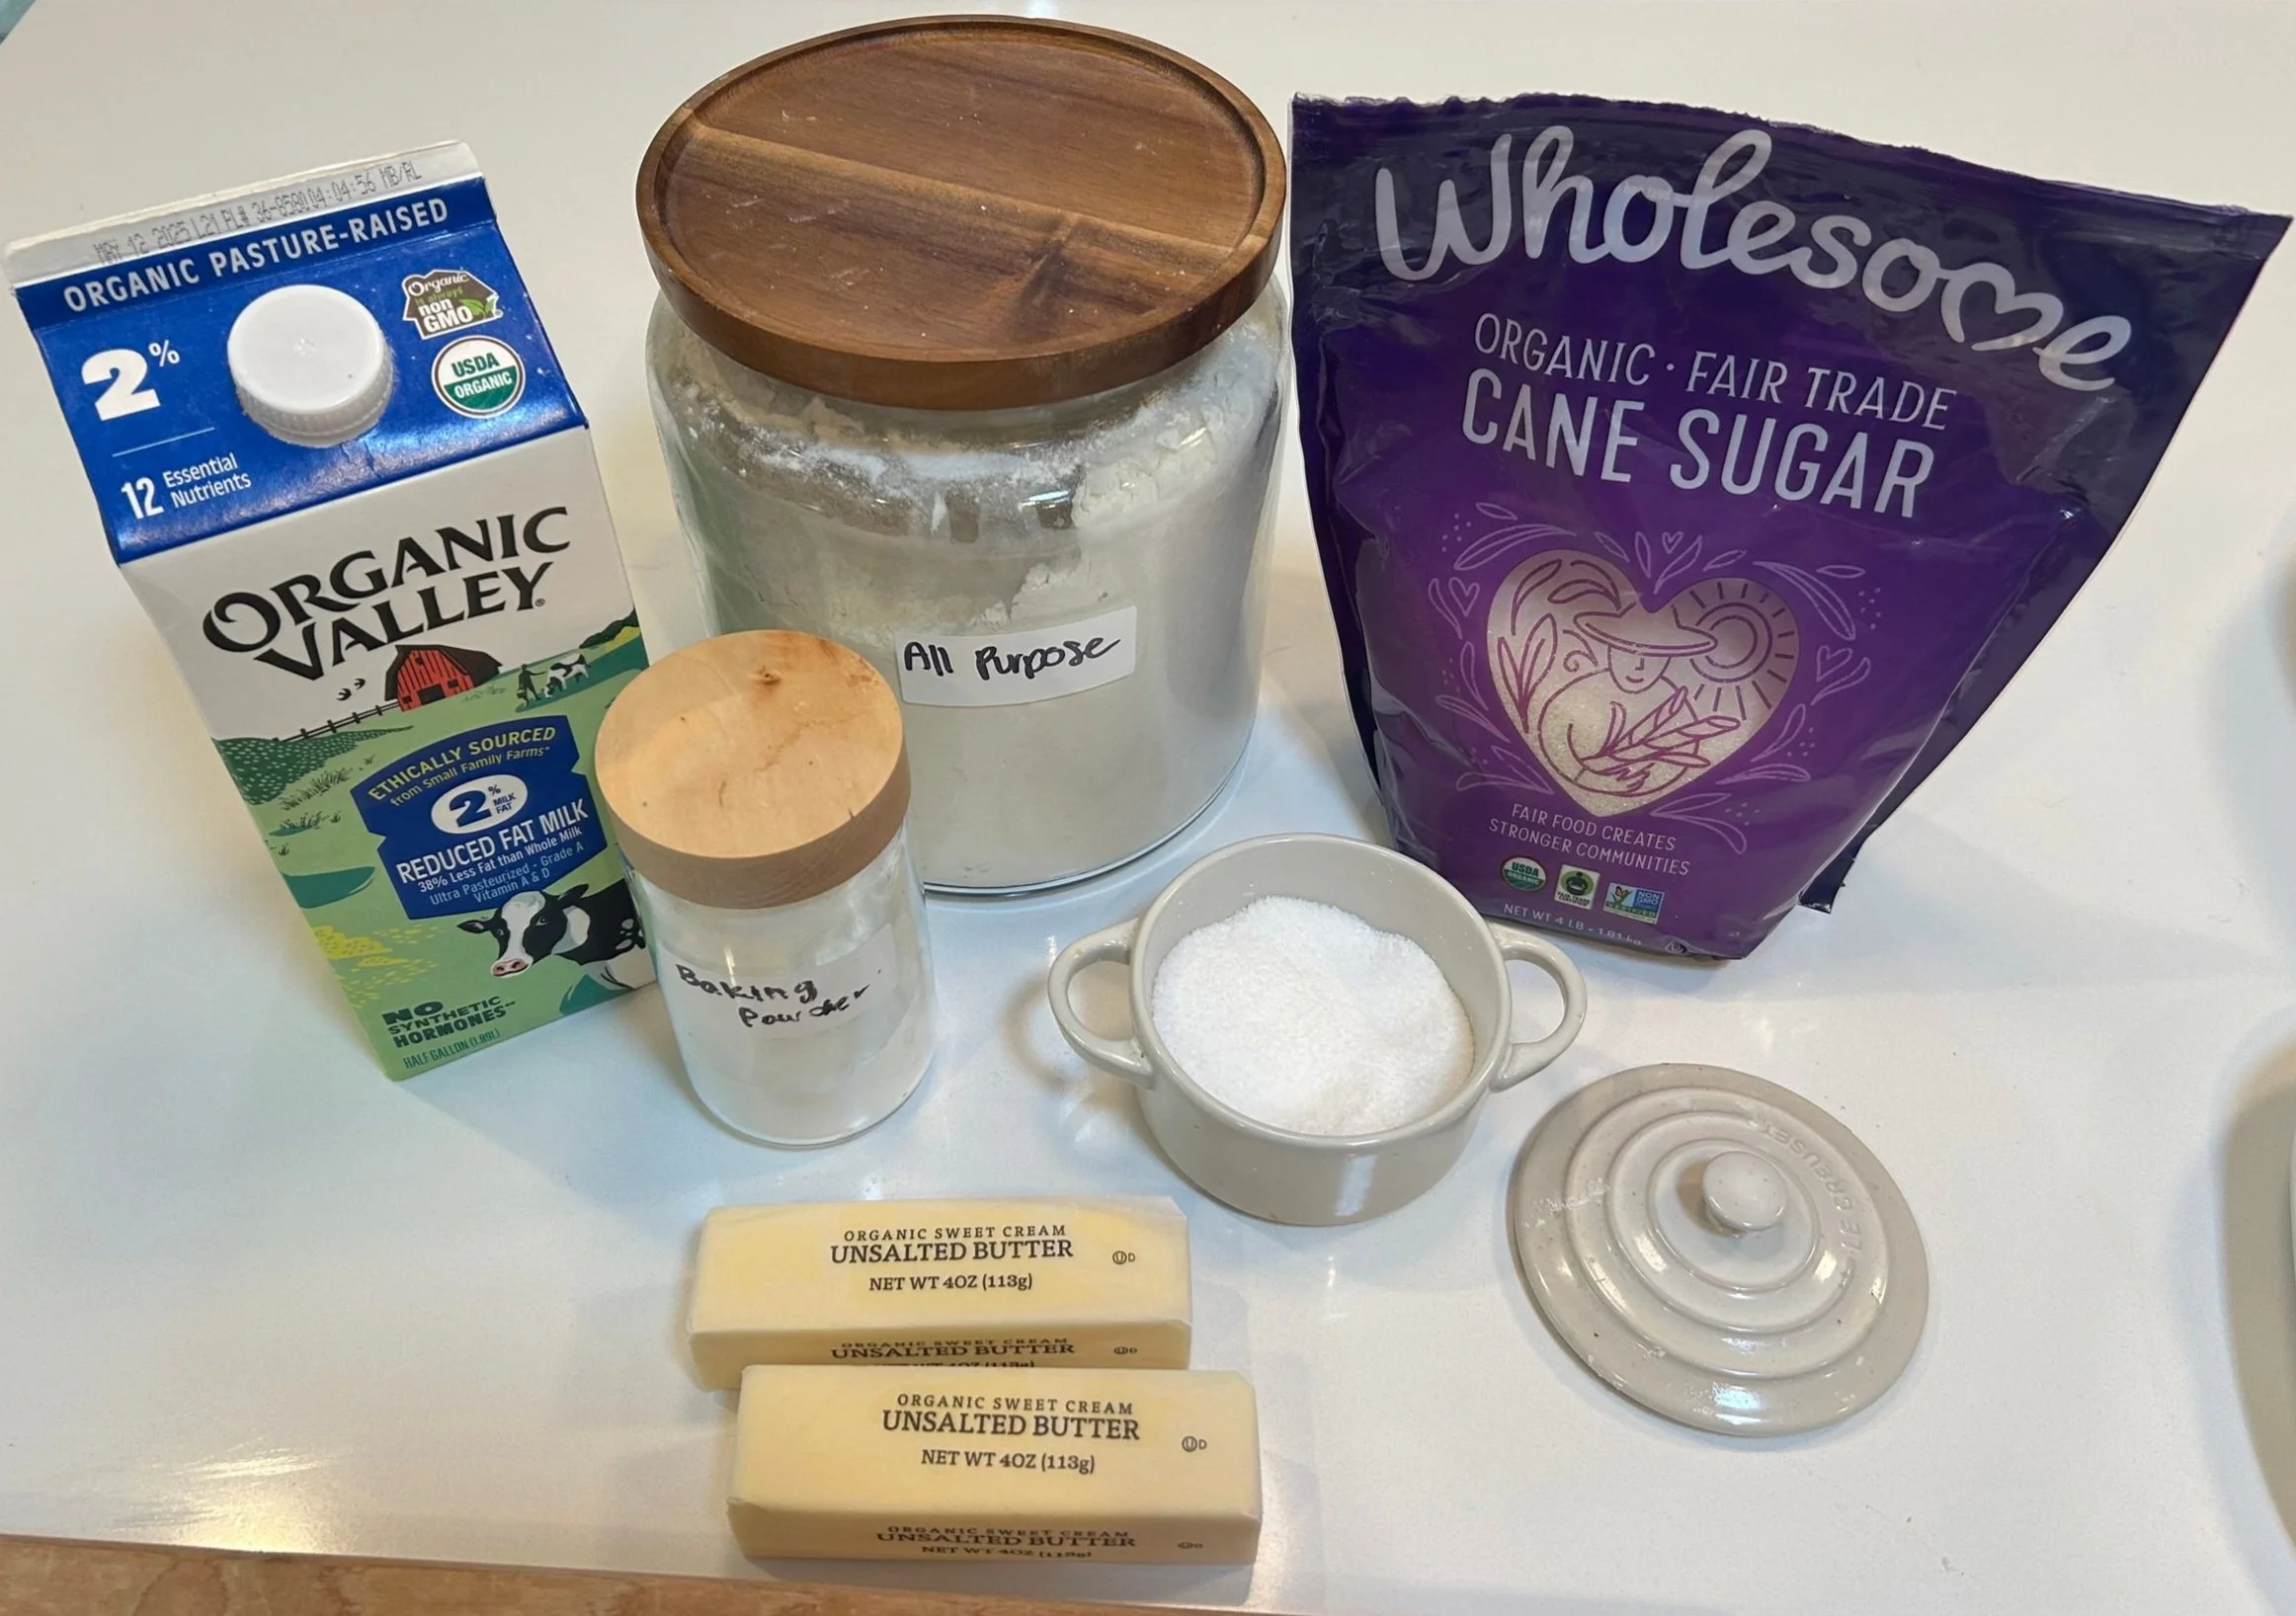
Ingredients
- 3 cups all-purpose flour (360 grams)
- 2 sticks unsalted butter (1 cup or 8 oz, cold)
- 1 tbsp baking powder
- 2 tsp Diamond kosher salt
- 2 tsp sugar
- 1 ½ cups milk or buttermilk, plus 1-2 tbsp more for brushing biscuits
Instructions
- Preheat the oven to 425 degrees Fahrenheit and line a baking sheet with parchment paper. Set aside.
- Cut the cold butter into small chunks, each about the size of a pea.
- In a large bowl, put the all-purpose flour, salt, and baking powder and combine them until they’re evenly distributed. Using your hands, mash the pea-sized pieces of butter into the flour. Don’t rush this process because you’re looking for all of the butter to be worked into tiny, smashed pebbles and evenly distributed throughout the flour.
- Add the sugar and milk to the flour and butter mixture and combine it all using your hands. The dough will appear wet at this stage, but that’s perfectly fine—you’ll incorporate more flour as you create layers in the next step.
- On a lightly floured work surface, turn out the dough and work it into a 9-inch by 5-inch rectangle. Fold the dough over on itself and gently work it into a rectangle again. This is the process to create light, fluffy layers in the biscuit dough. Repeat this step 2 more times until you have 4 layers.
- Cut the dough into 8 equal squares and gently round out the edges so you have 8 round biscuits. Be gentle enough not to disrupt the layers you just created. Place the biscuits evenly spread apart on the baking sheet.
- Brush the tops of the biscuits lightly with extra milk, then bake for 20-25 minutes or until the biscuits have risen and their tops are golden brown.


